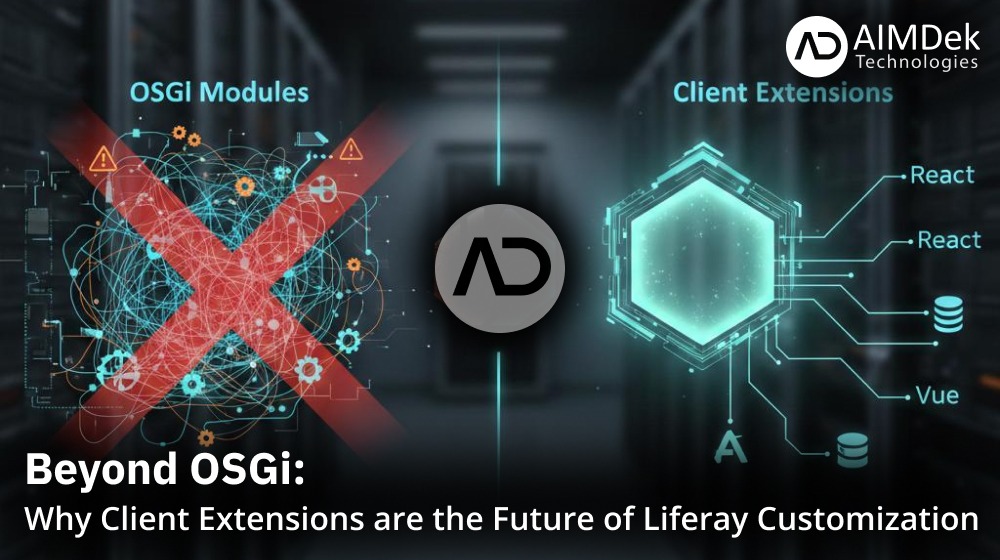
Beyond OSGi: Why Client Extensions are the Future of Liferay Customization
Deep Dashlaniya
What are Liferay Client Extensions?
Liferay Client Extensions (CX) are a modern, decoupled way to extend and customize the Liferay DXP platform without modifying the core codebase or deploying traditional OSGi modules.
Unlike the classic development approach where custom code runs inside the Liferay Java Virtual Machine (JVM), Client Extensions operate “out-of-process.” They allow developers to inject custom UI, logic, and configurations into Liferay while keeping the platform’s core stable and upgrade-friendly.
Note: Client Extensions are the primary way to customize Liferay SaaS and PaaS environments, as they don’t require server-level access to the runtime.
OSGi vs. Client Extensions: The Critical Difference
If you’ve been working with Liferay for years, you know that OSGi is powerful but complex. Here is how the new framework compares to the traditional approach:
|
Aspect
|
OSGi Modules
|
Client Extensions
|
|---|---|---|
|
Runtime
|
Inside Liferay JVM
|
Out-of-process (Node.js, React, etc.)
|
|
Cloud Support
|
On-prem only (SaaS/PaaS blocked)
|
Native for SaaS, PaaS, Hybrid
|
|
Upgrade Impact
|
High risk of conflicts
|
Zero impact on core platform
|
|
Tech Stack
|
Java/Groovy/OSGi only
|
Any JS framework + REST APIs
|
|
Scalability
|
JVM-limited
|
Microservices, serverless-ready
|
|
Use Case Fit
|
Deep backend integrations
|
UI widgets, configs, event triggers
|
1. The Four Types of Client Extensions (with Examples)
Liferay categorizes these extensions based on the specific “problem” they solve. Here is a breakdown of the four types:
1. Frontend Client Extensions
These provide resources to the presentation layer. They allow you to inject custom UI or global styles.
- The Example: A Custom Element that displays a “Live Product Catalog” built in React. Instead of writing a Java Portlet, you build a standard React app and Liferay “mounts” it onto the page as a widget.
2. Microservice Client Extensions
These trigger external code in response to events within Liferay. They usually communicate via REST APIs.
- The Example: An Object Action that triggers a Node.js microservice to calculate a user’s credit score whenever they submit an application form in Liferay Objects.
3. Configuration Client Extensions
These follow the “Configuration as Code” philosophy. They allow you to define system settings as version-controlled assets.
- The Example: An OAuth User Agent configuration. Instead of manually creating an OAuth2 client in the Control Panel, you define it in a YAML file so it’s automatically ready across Dev, UAT, and Production environments.
4. Batch Client Extensions
These handle bulk data operations and entity definitions using Liferay’s Batch Engine.
- The Example: A Site Initializer. When you deploy this, Liferay automatically creates a pre-defined set of Folders, Categories, and Web Content articles, making site-staging much faster.
2. How to Configure a Client Extension
Let’s look at the basic steps to create a Custom Element (React Widget).
Step 1: Setup Liferay Workspace
Ensure you are using Liferay 7.4+. Navigate to your Liferay Workspace and create a project inside the client-extensions/ directory.
Step 2: Define the client-extension.yaml
Every project must have a .yaml file. This is the “brain” that registers your code with Liferay.
Step 3: Develop Your Component
Ensure your JavaScript registers a standard Web Component so Liferay can recognize the htmlElementName.
Step 4: Build and Deploy
Run the following command from your terminal to package and deploy: ./gradlew clean deploy
Step 5: Verify in Liferay
Navigate to any page, click Edit, and find your new widget under the “Client Extensions” category in the fragments/widgets menu.
3. Conclusion
Client Extensions represent a massive shift toward a more flexible, stable, and developer-friendly Liferay ecosystem. By separating your custom logic from the core platform, you ensure your portal is ready for the future, whether you’re running on-premise or in the cloud.
At AIMDek Technologies, our objective in every project is to deliver modern, scalable solutions. Our Liferay experts help organizations transition from legacy OSGi modules to a more efficient, future-proof Client Extension architecture.

Deep Dashlaniya
Deep Dashlaniya is a Liferay and Spring Boot Developer who builds end-to-end enterprise solutions by combining strong backend engineering with scalable portal development. Has experience designing database schemas, creating Service Builder APIs, and integrating external systems to deliver secure and high-performance applications.
Tagged Liferay